19/10 Slowly ramping up
Where the fun of growth medium and tricky lighting is described
This past week continued acquiring commute appurtenances, in the form of a decent pair of plastic over-trousers and a ditty bag to corral spectacle-sets and phone in my pannier. The bag frees me from having to wear a backpack, lessening the sweat as I cycle.
The past week also saw two days where I spent hours in the lab. I grizzle over taking this many weeks to start having days like that, although I suppose the reasons are obvious: the root growth movies require about 30 min to plate seeds, and 10 min to set up the microscope, and hours crunching numbers in my office. There is also the unending stream of correspondence and editing that has followed me across the ocean. And finally, there is the difficulty of setting the dark growth room, with many things coming from afar.
One of the stints in the lab last week revolved around the crappy root growth problem. I first noticed this as the velocity atrocity, where it turns out that the roots are growing much more slowly than I expected based on what happens in my lab. The first thing I tried was to make my own plates, instead of scrounging, and this did not solve the problem. Then, I set up a test, where I put plates with seeds into three different growth chambers and into the glasshouse. On Monday, these seedlings had roots that were about 2 cm long and I started ticking them. Ticking means drawing a line (a “tick) on the back of the plate at the position of the root tip. I draw the lines with a razor blade because it gives a nice sharp line and is the same color as the root, which helps taking a picture that shows both the roots and the ticks clearly. I ticked them once a day during the week, and tomorrow I will scan the plates and measure the lengths. Because I also wrote down the time of each day’s set of ticks, I can calculate an average root growth rate for the seedlings in each of the spaces.
But, even w/o measuring, this experiment confirmed that the chamber I have been using is a slum. In this chamber, the roots slowed down to a crawl. The greenhouse was a little better than that, but not much. The two other chambers did considerably better than the third chamber, which confirms that there is something unhappy there. But those two still were far short of what I expect. The bad chamber is a problem, but not the only problem.
Therefore, I decided to make a different kind of growth medium. The medium I use at home is based on Hoagland’s, named after a pioneering plant physiologist (Figure) who was one of the first to work out defined nutrient mixes for optimal plant growth in hydroponics. The medium in use here is based on one designed by Murashige and Skoog for plant tissue culture, and is ultra rich. To prevent the plants from suffering from indigestion (so to speak) the medium is diluted by 50%. I have tested this half strength stuff back home and it seemed to be ok, but I never looked into carefully.
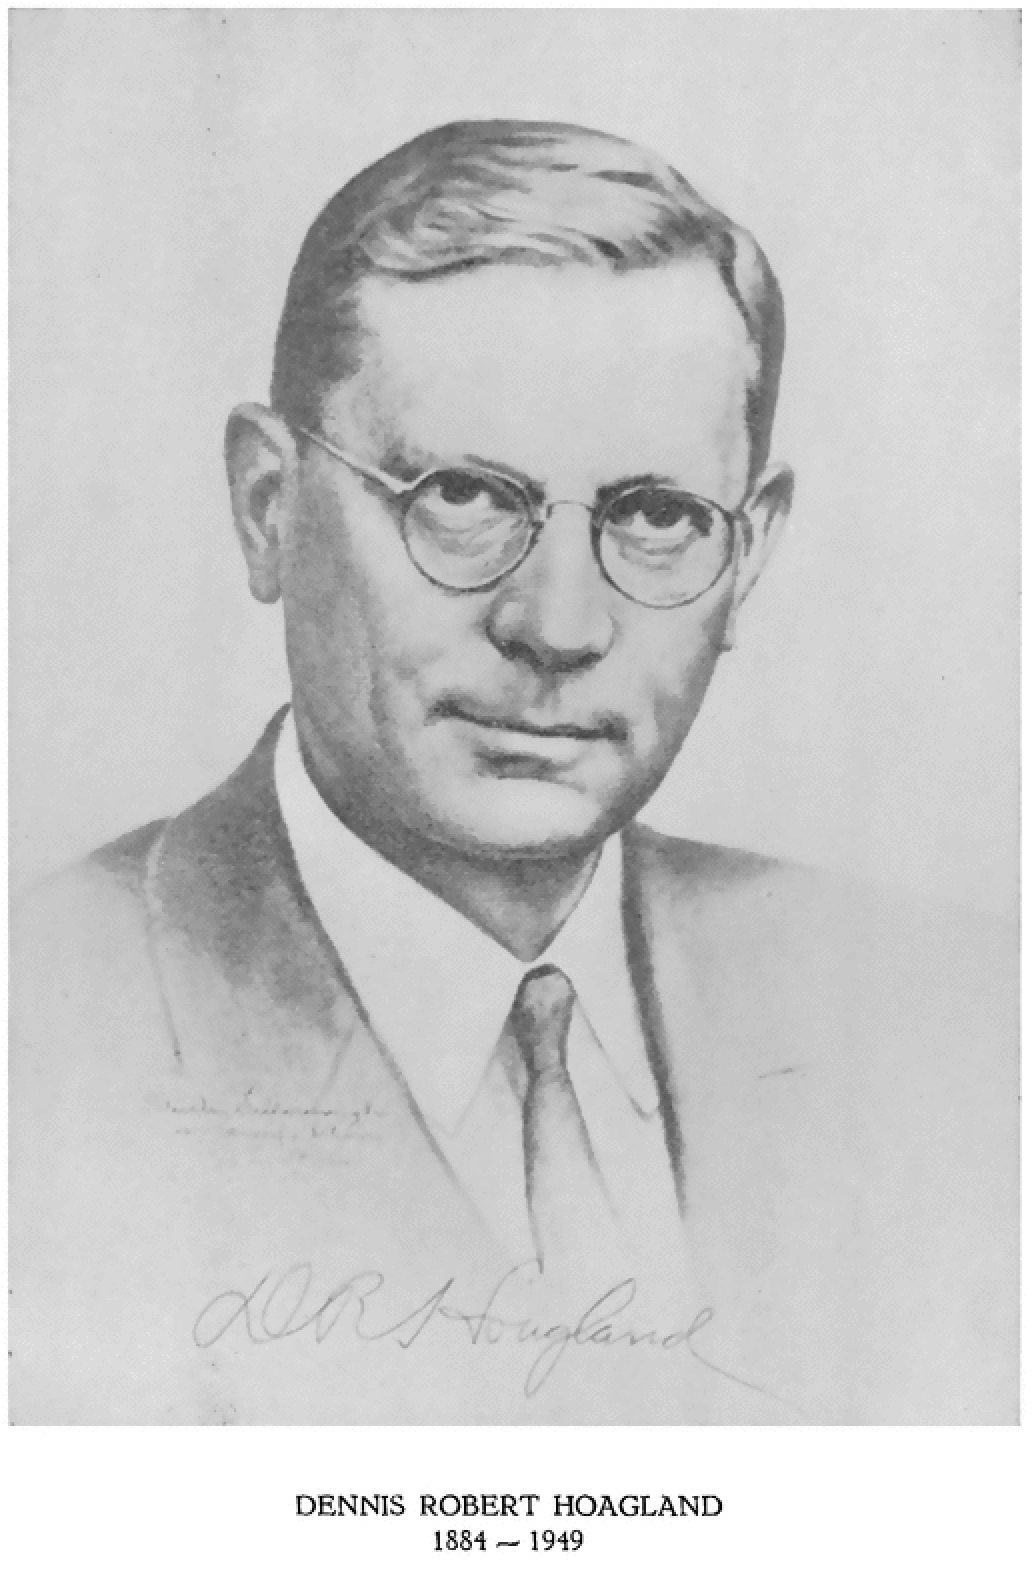
No data or apparus pix for this post, so check out what Hoagland looked like.
One reason for the popularity of the Murashige and Skoog medium is because it has been available in powder form for years so you can mix it up like cool aid – just add water and stir. By contrast, Hoaglands has to be made up from scratch. It requires six stock solutions, one of which contains five different micronutrients. Happily, one of the CPIBsters uses Hoaglands and had all the powders, but it still took plenty of time to weigh and measure and set it all up. But at the end of the day, I had thirty or so plates with agar-solidified Hoaglands to test. Friday I put seeds on a few plates, and onto some of the suspect “kool-aid” medium, and tomorrow they will be put into growth chambers to compare.
Another activity that kept me in the lab was getting the dark room growth system ready. Darren had built a little box containing IR lights. They have some IR lights around the place here, but they all have a little bit of output in the visible. This is useful in that the red they glow can tell you that they are turned on; but ruinous for my planned reagent grade darkness. Darren ordered a set of LEDs that are true IR emitting, with no (way less) visible tail. With this ready, I needed to look into what would be a suitable geometry for getting good images of the segments.
The plan has been to use a 6 well dish, with a Teflon washer to kill the meniscus (described here). In earlier tests, the images had seemed good with the camera underneath. But now with the actual camera, and light source, I needed to test this rigorously. I found clamps and stands and built a rig to hold the camera low and upside down, and the light source above. The dish could sit on a ring stand just an inch or so about the lens. Because the camera has a huge (infinite?) depth of field, everything is in focus including the (messy) ceiling and to ameliorate that, I put a piece of translucent paper on top of the dish. That gave a nice image of the segments inside the washer. But the lighting was hugely uneven. Super bright in the center and dim at the edges. I tried moving the light farther and made the bright central spot get smaller but never lost it; I tried moving the light closer and it whited everything out. I put the light on its side (at 90 degrees to the dish) and now the bright spot was off to one side.
The latter observation convinced me that the dish itself is acting as a lens to focus the light. I will test this week by putting the washer on a plane piece of glass. If my idea is right, then the light should become uniform. But if it is some function of the LED array itself, then not. To do the experiments I need uniform light so I am hopeful. While putting washers on glass might make spills a bit more likely, it is certainly doable. We’ll see.